How to Measure Steel Tubing Accurately Using Basic Tools
Dimensions of steel tubes are critical in several areas such as fittings, flows, and structures. Before choosing, replacing, or verifying the specifications of the steel tube, its essential dimensions need to be verified. This can be done quite easily using some standard equipment and procedures. This article tells How do you measure tubing.
Key Dimensions You Must Know
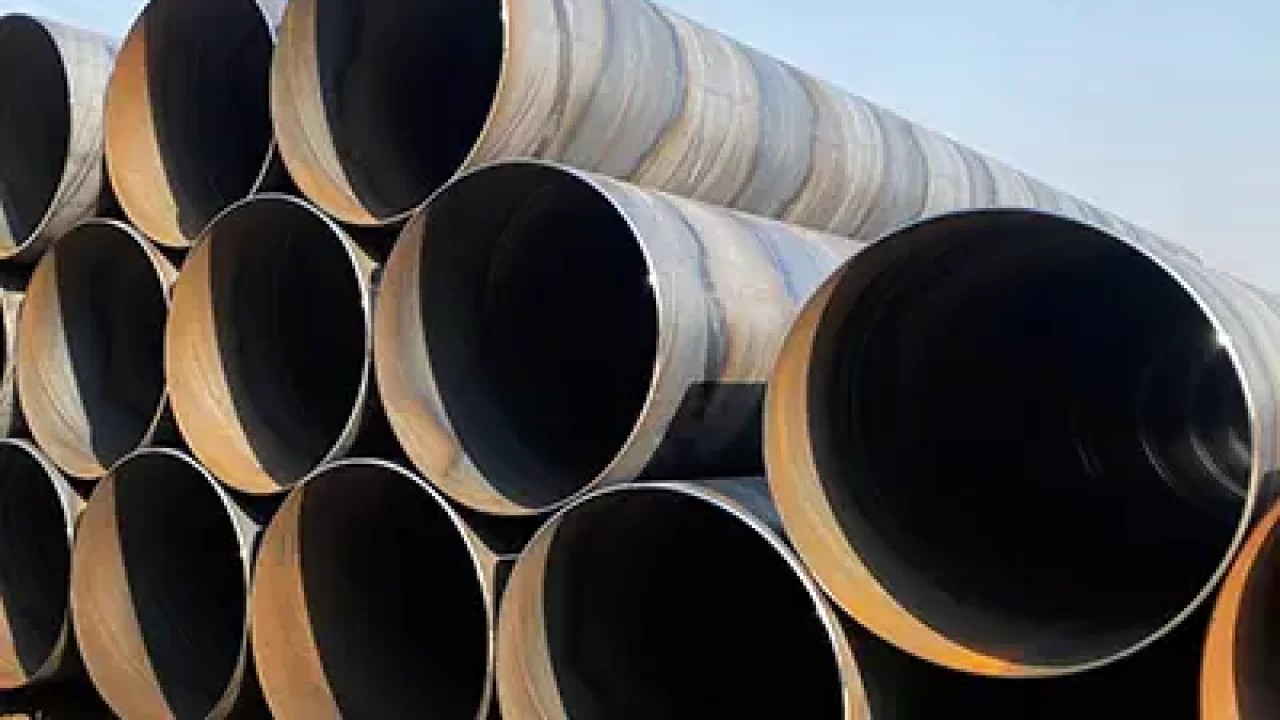
Steel tubing’s three key values are outer diameter (OD), wall thickness, and inner diameter (ID). OD determines how the tube connects with fittings. Wall thickness affects strength and weight. ID controls flow capacity. These three values are related; changing one will affect the others. Most industrial standards, including those for products supplied by PandaPipe, rely on the same dimensional structure for verification and replacement matching.
Tools Used in Basic Measurement
Accurate results depend more on tool handling than on tool complexity. A few standard tools are enough for most situations.
Digital Caliper
A digital caliper is the most common tool. It measures both the outer and inner diameters directly. It reduces reading errors because values appear on a screen. For tubing work, it is the first choice in most field checks.
Vernier Caliper
The vernier caliper operates on the same principle but requires manual reading of measurements from the scale. This method is slower than using a digital caliper, but it is dependable in situations where digital devices are unavailable.
Micrometer
A micrometer is used when wall thickness needs higher accuracy. It applies direct pressure on the tube surface to measure thickness. This is important when small variations affect performance, such as in pressure lines.
Measuring Tape for Circumference
If tubes have been laid out and access is impossible, a measuring tape may be used to determine the circumference. OD is then calculated using a simple division by π. This method is less precise but useful for field checks.
Step 1: Measuring Outer Diameter
The OD is the first critical dimension to measure. The measurement should be done on the largest cross-section of the pipe using the calipers. The jaws need to make contact with the surface equally without any tilting. At least two readings should be taken from different angles, since the pipes might be oval. If there are variations, average values should be obtained. The outer diameter is typically the primary parameter to determine tubing size and matching fittings.
Step 2: Measuring Wall Thickness
Wall thickness cannot be measured visually. It requires checking using either a micrometer or sharp-caliper jaws. The measurements should be repeated several times along the tube, avoiding the scratched and worn surfaces.
Step 3: Finding Inner Diameter
Inner diameter is not always measured directly. In most cases, it is calculated using OD and wall thickness. The relationship is simple: ID equals OD minus twice the wall thickness. This calculation helps confirm whether the tube will allow the required flow or fit internal components correctly. It also helps verify if a supplied tube matches expected standards.
Step 4: Checking Ovality
Ovality means how round the tube is. Small variations in roundness are normal during manufacturing. OD measurements need to be taken in different orientations, such as horizontal, vertical, and diagonal. The biggest and smallest values should be recorded if there is variation in measurements. Big variation may create a problem even when the size is right.
Step 5: Confirming Consistency Along Length
Do not rely on a single section of tubing. Measure at both ends and at the middle. Due to forming or storage pressure, some tubes may have minute variations along their length. A consistent reading is more important than one correct reading. This is particularly relevant in cases of longer pipes supplied in a bulk system where small changes can add up.
Step 6: Handling Surface Conditions
Possible measurement errors caused by coating, rust, or paint. Wash the surface before using tools. A thin film might affect measurements by fractions of a millimeter, which can be important in some cases. If cleaning isn’t possible, include thickness in calculations.
Step 7: Converting Units Correctly
Steel tubing is frequently ordered with both the inch and millimeter measurements. Mixing units is a common source of error. Always convert before comparing to datasheets or order specs. This is important when using international standards used by suppliers, such as PandaPipe, which documents both systems.
Conclusion
Correct measurements of steel tube dimensions require an established measurement process. Dimensions such as outside diameter, thickness, and inner diameter can be measured accurately by following a sequential process without any mistakes.